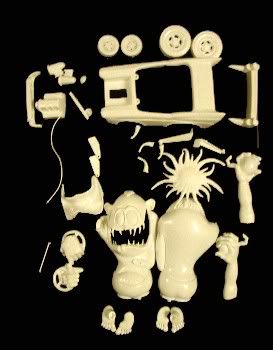
1.) All parts were removed from the sprue, cleaned up with jeweler's files and test fit. The pieces were then glued together and the seams worked down with files.
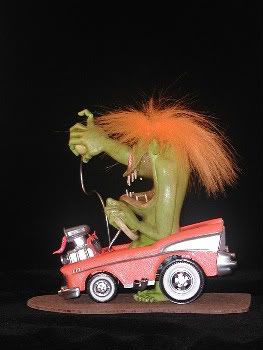
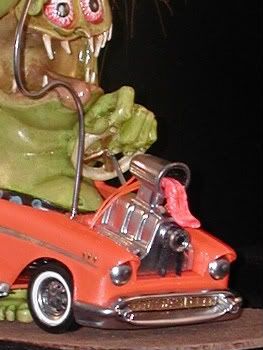
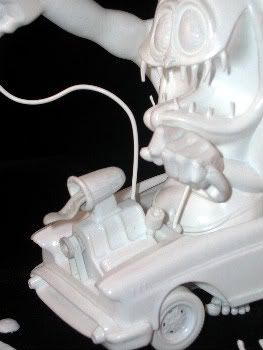
2.) The firewall was cut and the engine moved back.
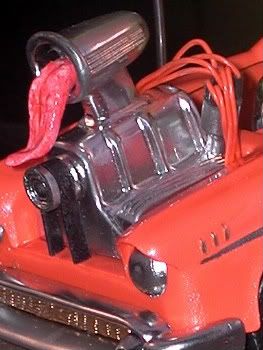
3.) The single pulley and belt blob was cut off the front of the engine and another pulley made from 3 different size tubes. A thin plastic strip was used for the fan belt.
4.) A distributor was made from plastic tubing and plastic coated wire. 8 holes were drilled in the cap for plug wires.
5.) Plug wires are short pieces of telephone wire.
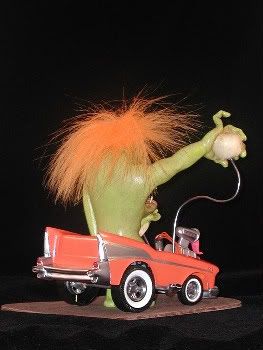
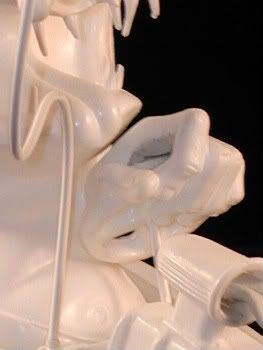
6.) The drivers hand was closed off at the thumb and index finger. That plate was removed, the hand opened up, the steering wheel added along with the fingers completed.
6.) The steering column and shifter arm were replaced with plastic coated wire.
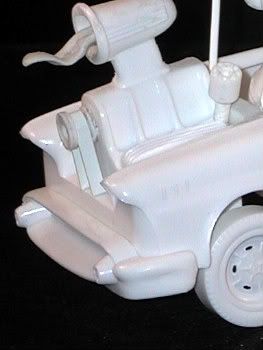
7.) Larger axle tubes were made from plastic and aluminum tubing.
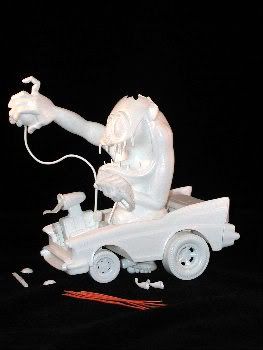
8.) A tongue was made from Aves Apoxy Sculpt for the blower scoop
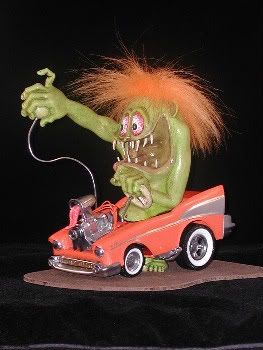
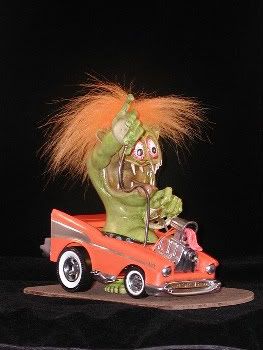
Color Plans for this Mr. Gasser are a House of Color "Dreamsicle", Alclad Chrome for the shiney stuff, flesh tone figure, orange hair, and of course widewhites.
Hope you like it ...much more to come ...Weldon