Who could forget those wild Monsters like Wild Child, MrGasser, Junkyard Kid, Mother's Worry, etc...? Share your Monster memories, pictures, toys, models, decals, shirts, etc....
Moderator: weldonmc
-
weldonmc
- Posts: 237
- Joined: Sun Feb 06, 2005 8:19 pm
Post
by weldonmc » Mon Mar 16, 2009 2:36 pm
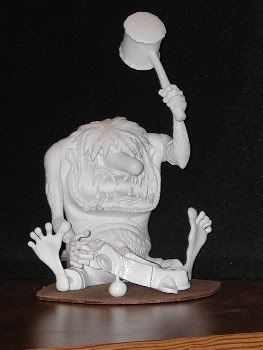
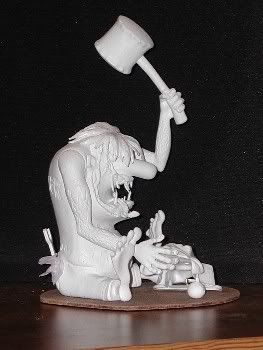
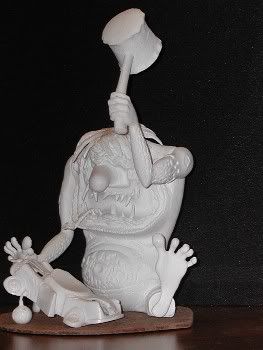
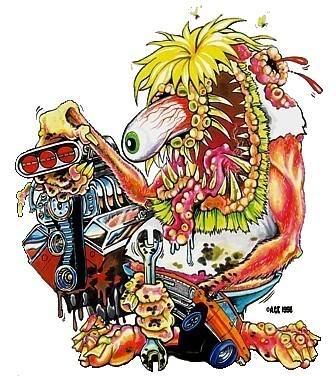
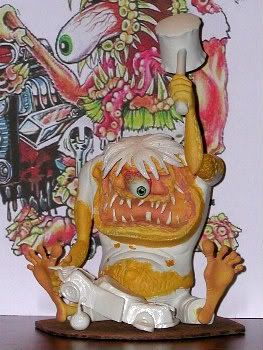
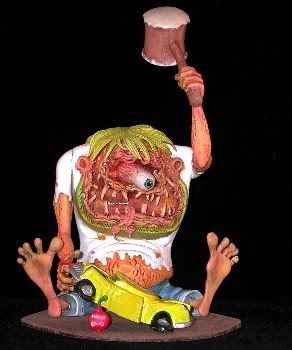
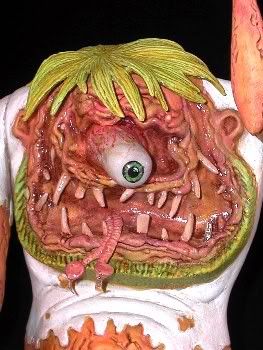
FINK ELIMINATOR is a pretty simple kit. The eye will be made longer using Aves Apoxie Sculpt, and a wrench and shop rag added to one of the back pockets. Inspiration for this build comes from a Johnny Ace poster.
Kinda looks like a Jimmy Durante' nose doesn't it? ...more to come ...Weldon
I have been a FINKSTER since 1963. I enjoy building, painting, and restoring all of Roth's Monster models ...Weldon
-
weldonmc
- Posts: 237
- Joined: Sun Feb 06, 2005 8:19 pm
Post
by weldonmc » Mon Mar 16, 2009 2:40 pm
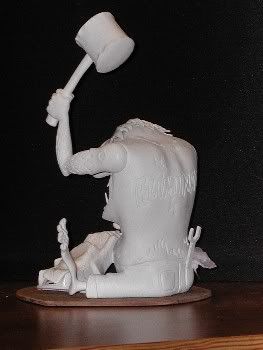
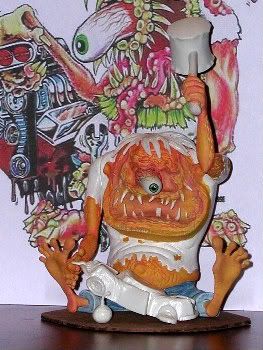
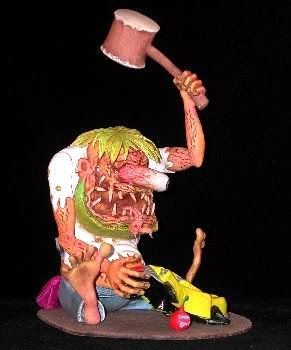
The left arm was left loose so it could be moved out of the way to paint the eye. After the eye was painted the arm was glued in the full swing position. Ivory, Impire Gold, and Rose acrylic paints were used for Fink Eliminator's color. The paint was applied by dipping the brush into the Ivory and Empire Gold ...then mixed on the figure with the brush. The Rose was dry-brushed onto the bottom of both feet and both hands, and a Rose wash was used in the mouth, eye socket, lips and ears. Five more teeth were cut from sheet plastic, filed and put in place to add more detail. All were painted with Ivory, Golden Brown, and high lighted with White. The yellow skin will be highlighted with a variety of colors and a Red Mohagany stain to better match the Johnny Ace picture.
More to come ...Weldon
I have been a FINKSTER since 1963. I enjoy building, painting, and restoring all of Roth's Monster models ...Weldon
-
weldonmc
- Posts: 237
- Joined: Sun Feb 06, 2005 8:19 pm
Post
by weldonmc » Mon Mar 16, 2009 5:23 pm
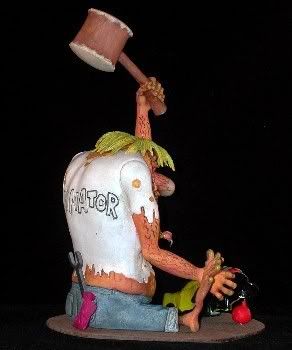
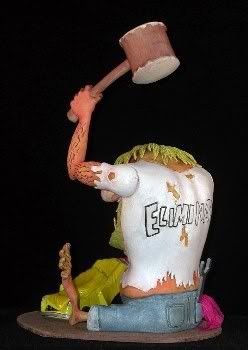
The Empire Gold on the figure was drybrushed with a Crimson Red wash then wiped with a Q-Tip while still wet ...highlighting areas by bringing up the Empire Gold color. The jeans were painted with Dutch Blue and White, then White was dry-brushed over that. ELIMINATOR was outlined with Black then the T-shirt was painted White to clean up all of the edges.
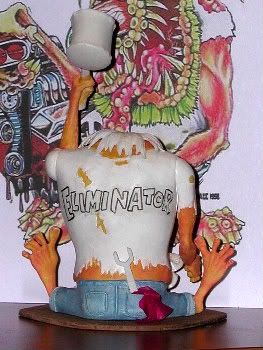
More to come ...Weldon
I have been a FINKSTER since 1963. I enjoy building, painting, and restoring all of Roth's Monster models ...Weldon
-
weldonmc
- Posts: 237
- Joined: Sun Feb 06, 2005 8:19 pm
Post
by weldonmc » Thu Mar 19, 2009 2:19 am
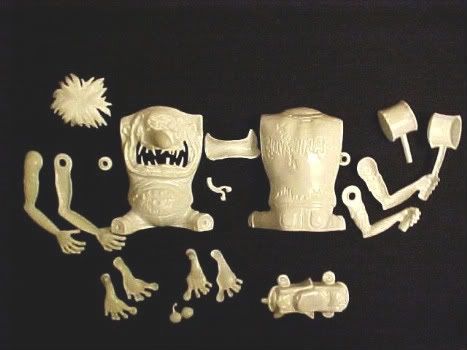
OK ...I have a few pictures for you and here's what I did to the kit:
1.) Removed pieces from the sprue and cleaned everything up for assembly.
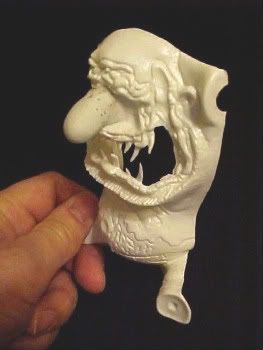
2.) Aves Apoxy Sculpt was used to extend and reshape the eye.
3.) Added five extra teeth made from sheet plastic.
4.) Base made from 1/8" Masonite.
5.) A thick plastic plate was used uder the figure and the crushed car to mount the pieces to the base with (3) #2 x 1/2 brass screws.
6.) The "Cherry Bomb" was drilled and a 18 ga. floral wire inserted to mount it to the base.
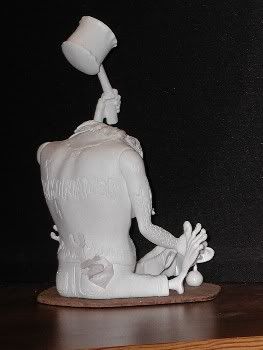
7.) A large opened end wrench was fabricated from sheet plastic.
8.) One of the back pockets opened up for the wrench and a shop-rag made from tissue paper was inserted.
9.) All seams were filled, filed/sanded, and made ready for painting.
10.) Everything was primed with a white enamel primer to make the colors brighter.
11.) Acrylic water-based Craft paints were used to paint the figure. Next a dry brush technique was used to bring out the details ...then an oil based Walnut stain was used to bring up the low area details.
12.) The figure was topcoated wth a Matte Varnish to protect the acrylic paints from rubbing off.
13.) A high gloss clear nail polish was added to the eye, eye-socket, teeth, inner mouth, lip area, and the finger and toe nails.
12.) The car was painted with Boyd's Aluma Coupe Yellow.
13.) Slobber on the tonge is epoxy.
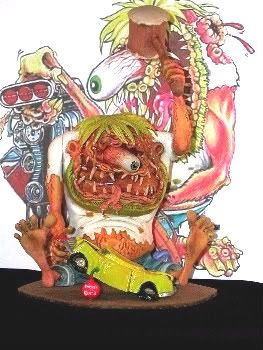

 Hope you like it ...Surfink is the next one in line ...Weldon
I have been a FINKSTER since 1963. I enjoy building, painting, and restoring all of Roth's Monster models ...Weldon